Making a purchase through our links may earn Well+Good a commission
Pre-pandemic (remember the days?
), spontaneous trips to the grocery store were taken for granted.
Out of oat milk or have a craving forplant-based queso?
(Anyone else start acountertop gardenthe last few months?)
We started foraging berries and growing a garden.
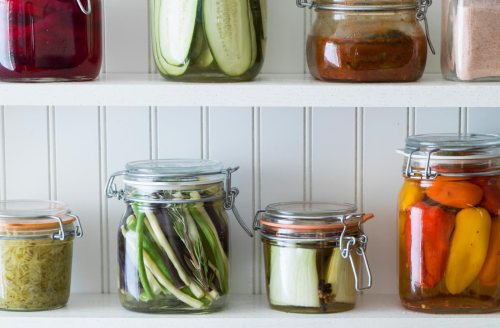
Canning was the natural next step.

…
Of course if youve never done it before, canning can be a little intimidating.
Keep reading for everything you gotta know when it comes to how to can food.
(More on that in a sec!)
Not sure which way to go?
Keep reading to learn the difference between the two methods, and how to do each one.
Water bath canning uses boiling water to sterilize jars of food, and preserve them for the long term.
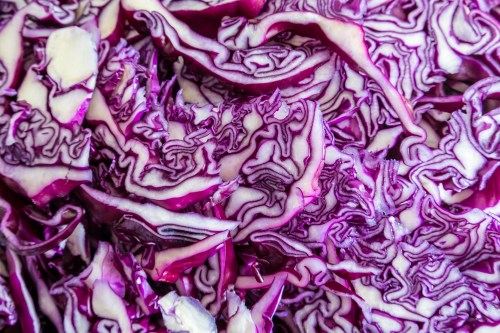
This method works for high-acid foods like fruits, jams, jellies, and pickles.
(Most fruits, includingapples, blueberries, blackberries, and peaches, fit the bill.)
Low-acid foods are vegetables, legumes, and meat.
…
The vinegar acidifies the vegetables enough to make them safe for water bath canning, she says.
Here, the experts gives steps on how to do water bath canning at home:
1.
Wash your jars with hot, soapy water.
The jars must be kept hot while the produce is being prepared.
Fill your canner with water, two-thirds of the way full, and bring it to boil.
Boil the produce you want to preserve on the stove.

Seal the lids using the bubble remover.
Nestle the filled and sealed jars into the canners rack and lower them in.
The boiling water should cover your jars.
If any jar did not seal properly, put it in the refrigerator to use first.
Heres the step-by-step process, according to the experts:
1.
Prepare the pressure canner, based on its instructions.
(Different brands work a bit differently.)
Seal the lids, using the bubble remover.
Put the jars into the pressure canner.
Use the manufacturers instructions to seal, vent, and pressurize the canner.
Once the canner reaches the correct pressure, set a timer for the recommended processing time.
Allow the jars to cool on the counter for at least 12 hours before checking the seals.
If any jar did not seal properly, put it in the refrigerator to use first.
The other jars can be wiped down and stored in the pantry.
The canned produce will be good for up to a year.
In terms of safety, the experts have a few words of advice to keep in mind.
She also says its important to follow tested recipes or recipes that have been adapted using safe recommendations.
The National Center for Home Food Preservationis the USDAs website for up-to-date canning recommendations, she says.
But with that in mind, youre ready to start your canning adventures.
In time, youll have a pantry filled with home-canned goodness.
…
Got it, you’ve been added to our email list.
